VDI service - Remote access to virtual desktops and apps
General information
The VDI (Virtual Desktop Infrastructure) service provides its users with the ability to connect remotely to virtual applications and/or virtual desktops from different types of devices (desktops, laptops, tablets, smart phones) via a web browser.
In this way, users can use specialized applications and interfaces similar to those available on the shared computers of the Computer Centre, in order to carry out laboratory courses and tasks. In particular, virtual working environments based on MS Windows and Linux Ubuntu are available, as well as applications such as Matlab, Eclipse, ArcGIS, Autocad, DevC++, CodeBlocks, etc.
The service was implemented in the framework of sub-project 1 "Implementation of innovative infrastructure for the provision of advanced e-learning services" of the action "Completion-upgrade of the infrastructure equipment of the Technical University of Crete", of the Operational Programme "Operational Programme "Operational Programme Crete 2014-2020".

Who it concerns
The service applies to registered students (undergraduate and postgraduate) and the teaching and laboratory staff of the Technical University of Crete.
Terms and Conditions
Users can only access the VDI through the Foundation's network. External users require a connection to the Foundation's VPN.
To use the virtual environment of the VDI service, the following conditions must be met:
- have an account with the institution's online services (username, password).
- have an up-to-date Internet browser (e.g. Chrome, Firefox, Safari, etc.) that supports HTML 5.
- you have been granted access in the context of a laboratory course or for the preparation of a project.
Due to the limited number of simultaneous connections to the service (120 users), the VDI service will be allocated as follows:
- for the service of distance laboratory courses by the teacher/assistant in charge of the course through the reservation of virtual classrooms from the electronic booking application of the classroom use program and the program.tuc.gr website. The latter should inform TEYY staff with the details of the users who will have access to the service and the period of time during which the courses will be implemented.
- for the case-by-case use of the service, by the interested user through a request from the request/damage system and the helpdesk.tuc.gr website.
Login to the service
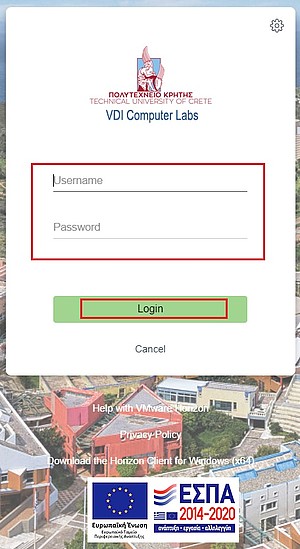
To log in to the VDI service visit https://vdi-tuc.isc.tuc.gr.
Then, on the new page that will appear, enter the institutional details of your e-services account and click "Login" as shown in the image below.
Working environment
Upon login, you will be presented with the VDI interface, which is divided into two (2) sections.
In the first section, above the dividing line, the options of the virtual environments you can connect to are given, namely MS Windows 10 or Ubuntu Desktop 20.04.
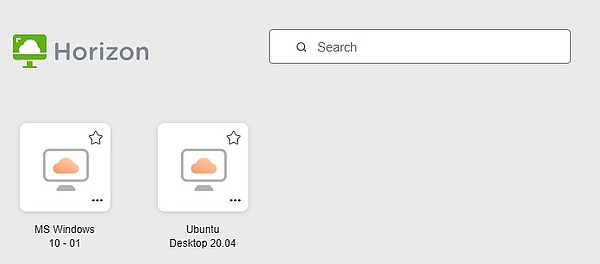
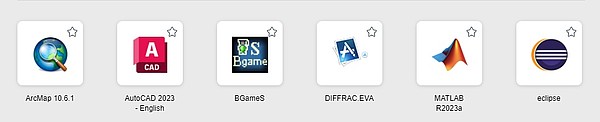
The second section, below the dividing line, shows the applications you can use, such as Matlab R2023a, Autocad 2023 or ArcMap 10.6.1.
From the above, choose to either connect to a virtual desktop or run a virtual application.
Below is one (1) example, for connecting to a virtual desktop environment, namely MS Windows 10.
The user has access to his/her personal file storage (network disk Z:) and can work on it.
File management in a VDI environment
With the VDI service there can be no direct access to each user's personal computer/device, but there is still access to their personal file storage (network disk Z:), as mentioned above.
When you log in to a Windows 10 machine or open any of the apps and press the show/hide menu button, the options menu expands. In the top horizontal layout, 4 options appear, the second of which opens the File Transfer panel. These files will be either plain format (e.g. .txt, .xlsx, .pdf etc.) or compressed format (e.g. .zip, .rar etc.), but not folders.
By clicking this option, in the panel that appears, there are two tabs, one for downloading the desired files from the VDI virtual machine to your personal computer/device and one for uploading the desired files from your personal computer/device to the VDI virtual machine.
In both cases, follow the steps indicated.
Observation: For the Linux environment, the upload/download feature is not supported. Alternatively, you can use the virtual application or virtual machine environment with windows 10 to transfer your files to your personal Z file area and then access them from there when you log in to the Linux virtual machine.
The following describes how to manage files when you open (a) a Windows 10 virtual machine and (b) an application.
Α. Windows 10 Virtual Machine
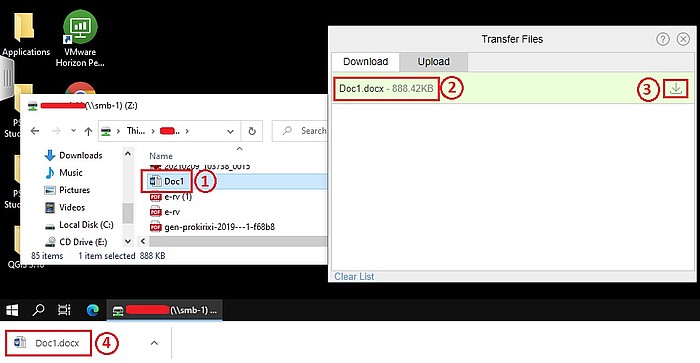
1. Download
To save a file to your computer/device, open the File Transfer panel, select the "Download" tab and after navigating to the desired file, press "Ctrl+C". The file will appear in the File Transfer Panel and by pressing the indicator button (3) it will be saved locally in the "Download" folder of your computer/device, as shown below:
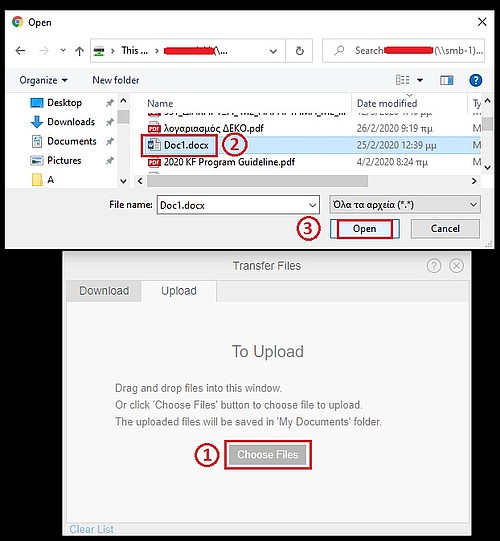
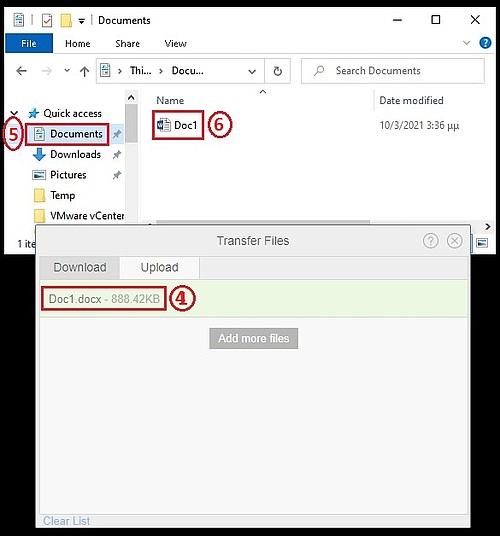
2. Upload
To transfer a file from your computer/device to the virtual machine you can, as indicated in the File Transfer Panel, either drag and drop the desired file into the panel after finding it or click on the "Choose Files" option, as shown in the image below. In both cases, once the upload is complete, the file will be displayed (indicator 4) and you can find it in the "Documents" folder of the virtual machine.
B. Application
In case you run an application, it is sufficient to open the File Transfer Panel and follow the previous steps or go through the application to the "Documents" folder or your personal network drive (Z:) to find, open, edit or save the desired file.
Below is an example with the Autodesk AutoCAD 2023 application:
Login
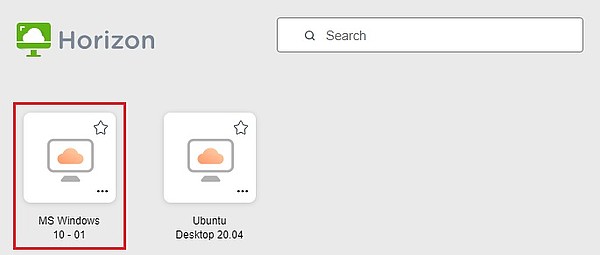
Case of connecting to a VM with MS Windows 10 operating system:
Select the icon named "MS Windows 10 - 01", as shown below:
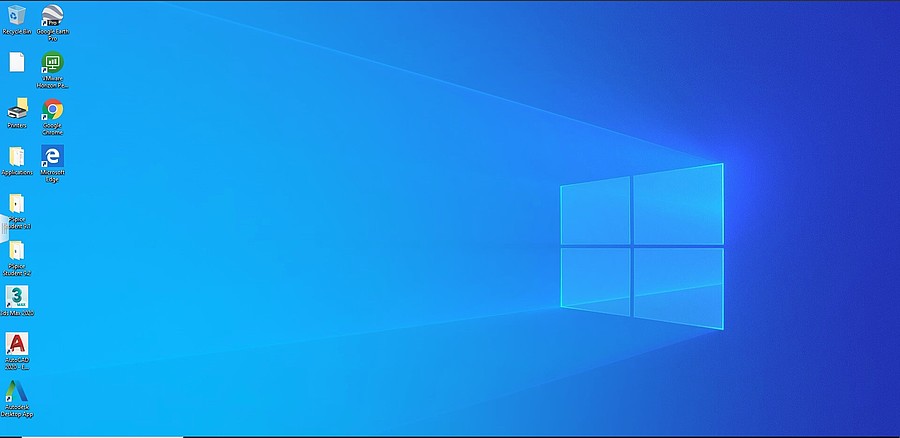
After "loading" the desktop, the MS Windows 10 environment appears with all the applications installed on the workstations of the Computer Centre.
On the left of your screen, the show/hide button for the options menu appears.
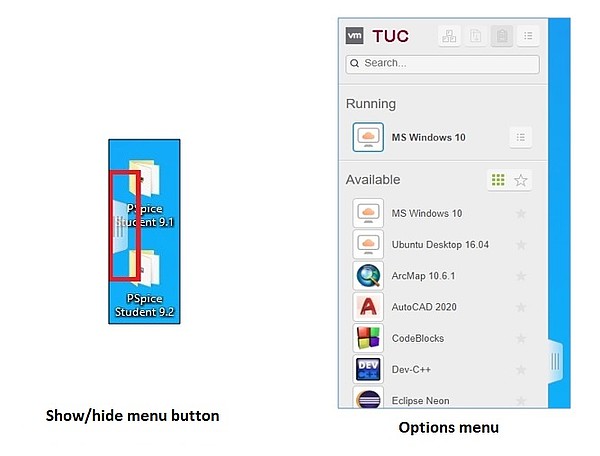
Pressing this button opens the options menu on the left of the screen:
- the Running section of the menu displays the virtual machine or application that is currently "running",
- the Available section shows all other available resources - other virtual environments and standalone applications,
- in the top right horizontal menu, next to the TUC logo, there are 4 icons that allow:
- the Ctrl+Alt+Del command for virtual environments
- the ability to upload and download files to and from the user's device in the virtual interface
- the ability to copy-paste from the clipboard of the user's device
- the exit/disconnection from the service.
Notes:
- It is desirable not to run more than one virtual desktop and/or application at the same time for no reason, as this ties up resources and may result in degradation or prevent other users from using the service.
- In case the machine you are working with goes idle after a few minutes of non-use, the following screen will appear, asking you to press the key combination "Ctrl+Alt+Del" to reconnect.
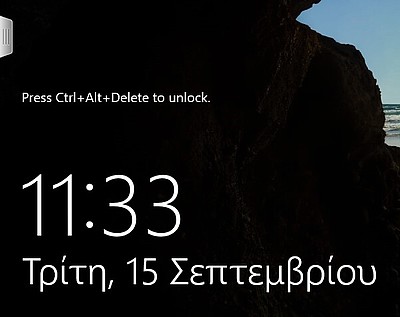
This will not be done from your own keyboard, but from the left options menu, at the top of which you select the button  , next to the "TUC" logo and then type your password to re-enter the desktop.
Logout
After you have finished your work, whether you are using a virtual interface or a virtual application, you must log off/shut down to release the resources of the service for use by other users.
Release virtual desktop environment
This can be done in 2 ways:
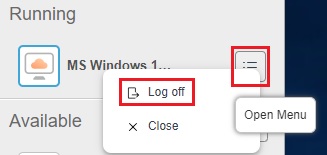
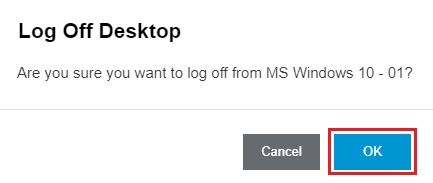
- From the options menu on the left and the Running section, select the virtual desktop environment you are currently connected to and click the button to the right of it. From the options that appear, click "Log Off" and in the message that appears for confirmation, click OK.
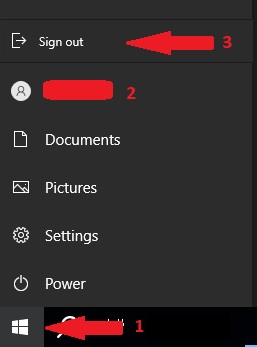
- With the classic way you "Log off" in Windows 10, when you are physically present on a computer in the Computer Centre. While still on the desktop computer, you select the Windows icon, the User Name, and the "Sign Out" option in sequence, as shown in the image below:
Closing the application
Closing a running application can be done in 2 ways:
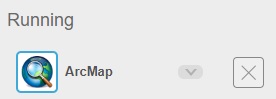
- from the options menu on the left and the Running section, select the application you are using and click the button
 to the right of it.
- from the application itself, either by selecting File -> Exit from the application menu, or by closing the application window from the top right button .
Exit from the service
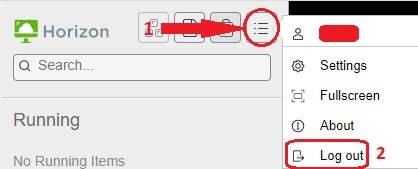
To exit the service completely, expand the options menu by pressing the display button on the left of your screen and follow the steps below:
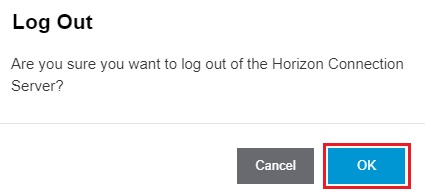
In the confirmation message that will appear, click "OK".